Social Media Marketing…The Baby Boomer Dilemma

Some of us are from the ‘Baby Boomer’ generation. For our generation, using the internet for marketing purposes can seem like an insurmountable obstacle at times. This post takes a hard look at one of those obstacles and how it can be conquered…at least to the extent possible.

You’re probably quite an accomplished web surfer, maneuvering your way through various shopping websites, YouTube videos and even managing your own Pinterest and Instagram accounts! You’re coasting along just fine, then the unthinkable happens…you do not understand the words you’re hearing or reading. No, it’s not due to the fact that you’re uneducated…in reading, writing and arithmetic. Baby Boomers must admit that the education associated with todays web and social media marketing is geared toward those much younger than ourselves.

So, what’s a savy, self taught, modern day web entrepreneur to do? Of course, you could ask ‘Google’ or spend hours searching blogs for an understandable answer or solution. I will admit, that’s what I did…to begin with. After I completely exhausted myself, I gave in and decided that I could not solve my social media marketing problems by myself. So I did what I should have done in the beginning…I texted my very intelligent step-daughter and asked for help! You see, she’s from the Gen Y or Millennial generation. She is also employed in promoting social media driven advertising.

After she poked around the the social media account I was having trouble with she came to this conclusion: the issue is with the social media platform itself, not me! Elation!!! Jubilation!!! I’m currently waiting for an answer to the ticket she created in my behalf.

The morale of the story is (as we were taught when watching “Leave It To Beaver”) always do your best to solve your own problems, don’t give up and ask for help when needed…preferably ask a Gen Y or younger.

That’s my story and I’m sticking to it! I hope your social media and website marketing adventures are all a simple hop, skip and a jump!

Thanks for tuning in!

Yours truly,

Samra

A Little Bit About Designs By Samra…

About Samra, Founder & Designer…

While living in the Arizona Sonoran Desert, Samra’s desire to learn about the natural occurring metals and stones found in that arid climate blossomed and grew. Gold, turquoise, silver, copper, obsidian, quartz crystal and more were just a few miles away in any direction. Old, abandoned mines, dusty desert trails, and stories were plentiful. Something in the desert landscape called ‘washes’ were flooded with raging rainwater during the ‘monsoon’ season in July and August, just to dry out completely during the remainder of the year. These ‘washes’ held gold flakes, or so everyone was told. Samra’s love for metal and stone was forming.

Besides living in the arid Southwest, exploring flea markets, and browsing antique stores and old bookstores influenced Samra’s enduring fascination with meaningful and thoughtful expressions of friendship. Hand-crafted, rustic jewelry in the form of beaded, stone necklaces, bracelets and earrings made with copper wire were her first endeavors. After exploring the possibilities of forming metal by using fire and hammer she knew what she had to do…learn the centuries-old art of metalsmithing. To Samra, she found something precious, giving of herself through her hand-crafted jewelry.

Her current endeavors include repurposing antique pearls, collecting old coins and expanding her literary quote book list…while trying to figure out how to use the herbs still growing in her garden before the winter frost.

Making a Jeweler’s Bench

I’m thrilled! My sweet husband is making a jeweler’s bench just for me! Would you like to follow our bench making journey? Just follow me!

First of all, the basic guide for this bench is featured in Mr. Tim McCreight’s book “The Complete Metalsmith”. If you are pursuing an education in metalsmithing, whether it be formal or informal, please purchase this book. It is an invaluable resource as stated in the introduction: “It is intended to be both a text and a tool, a blend of instruction and reference. Like any tool, its value increases as you bring to it your own perceptions and skills. It is designed to make the information easily accessible and built to stand up to years of bench-side use.” Again, an excellent and well-written instruction book that you should have in your metalsmithing library.

Mr. McCreight’s above-mentioned book offers two types of benches to consider making. My husband chose the “Simple Jeweler’s Bench” featured on page 166. After a trip to our local big-box hardware store, we purchased pine for the legs, poplar and plywood for the drawers and a ready-made 2′ x 4′ butcher block kitchen countertop for the top of the bench. I prefer a well-made hardwood top to work on that will be durable yet attractive. The purchase total was $265.00, including $109.00 for the butcher block top. Not bad, eh?

I have recently acquired a rolling mill by Pepetools 😍 and a Foredom Flex Shaft to widen and improve my metalsmithing skills. Since the Flex Shaft will be at the right of my bench, we purchased copper tubing to construct a classy motor hanger. The copper tubing will sit in a flange attached to the bench top, along with a copper arm to hang the motor from. The rolling mill will be securely fastened to a workbench within a couple of steps of the bench.

We have other ideas as well that include how to hang adequate lighting without banging holes into the ceiling or walls of our 98-year-old Sears catalog home. Pegboard on a frame to hang my tools and Ikea bookshelves purchased 15 years ago to house metalsmithing and jewelry making books, dapping, cutting and stamping tools, beads, etc.

I will catalog our bench making journey as we progress along. Hopefully, the bench will be finished soon!

Are you trying to figure out how to create workspace for metalsmithing and jewelry making? Please let me know how your plans are coming along by using the comment feature below.

Thank you very much! Please stay safe and stay well! Kindest Regards, Samra

The Layering Trend…in Chain Necklaces

Have you noticed? There seems to be a change occurring when it comes to wearing necklace chains. Do you remember when bold and almost obnoxious chains were the “thing” to wear? I certainly do! During that time, roughly 30 or so years ago, statement chain necklaces were really popular. Remember the 1980s television series starring Mr. T or Laurence Tureaud, in The A-Team? If so, then you remember bold, chunky necklace chains!

About that same time, Tiffany & Co. were producing and selling chunky, almost choker length necklaces, with or without their “Return to Tiffany” heart tags attached. They were and still are beautiful chain necklaces! So beautiful that I would like to attempt making one or two. At least give it a try, by using a heavy gauge sterling silver wire, and my own design. Well, that’s something that I will definitely schedule in the future.

Anyway, it seems that the bold chain style is back. But, what’s interesting, is that a fine gauge chain is worn together with the bold chain. Actually, it seems that “anything goes” when it comes to layering necklace chains. It’s encouraged to “mix metals” for a “fresh look” when considering which chains would look good together. Wear a bold choker chain in gold, with one or two fine gauge silver chains with a pendant for an added punch of flair.

I do like this new style, do you? Or do you feel an inside resistance to this look? Perhaps feeling that in wearing these bold, statement chains will revert you back to the look of your high school days? Yes, I understand the feeling!

With time fads come and fads go. Spending time looking through photo albums with mom and dad will always bring a chuckle when we see ourselves dressing like Mr. T! But, hey…I wonder what his daughters might be wearing this year, as they see the changes that the rest of us are seeing?

I wouldn’t mind wearing a bold, chunky necklace. In fact, I’ve dug out my 1980s Tiffany & Co. bold chocker length necklaces with the “Return to Tiffany” heart tags on them. I’ve always loved wearing them. But when fads go a person feels a little conspicuous. Now, I’m having a change of heart. I’ll just look through my collection of fine gauge necklace chains (by the way, that’s a fad of years gone by, too, that reminds me of my mother!) to layer with the bold necklace chains. What exciting combinations will I come up with?

Well, now I need to start thinking about creating bold necklace chains for my friends. Of course, they will want to wear beautiful necklace chain combinations from their own jewelry collections. The combinations are endless! Remember, “anything goes” now…wearing and layering necklace chains, that is.

Please check back often to give us your feedback on the bold necklace chains that we will create and offer to you, our friends. Until the next fad…be happy and stay safe!

Thanks for reading,

http://www.designsbysamra.com

How To Wear Stacking Rings

What’s in a ring?  Usually, they’re made of a precious metal like silver and gold. Sometimes precious and semi-precious stones are used to enhance the ring’s beauty.  To a metalsmith, rings are wonderful creatures full of exciting new things to learn!  I think that’s the true reason why metalsmiths love creating and wearing their rings!  

Why do you like to wear rings?  Does wearing a treasured heirloom ring make you think of the person it first belonged to?  It certainly does me!  I would love to ask questions like…who gave the ring to you…a close friend…loving parents…perhaps a soon-to-be fiancé?  Sigh…rings…I love wearing rings!

Well, with all that said, how does one wear stacking rings?  Suggestion…think of odd numbers when stacking rings.  For example, three rings on one finger look great!  One ring, say your diamond engagement ring, looks fabulous on one finger.  Five fingers on one hand…hmmm…you’ve got several possible combinations on just one hand!  Five is an odd (not even) number, coupled with an odd number of rings, one could wear a midi ring along with the first two suggestions and voila!  Success!  Not to mention a lovely hand looking lovelier with just a few rings. 

Remember, any given style at any given time (decade) is usually just a fad.  A fad is something that changes over time…and changes…and changes.  Just look at any photo of yourself 15 years ago!  How many times have you said to yourself ‘what was I thinking!’.  If you enjoy wearing rings, then wear them…wear as many as you like.  The only additional suggestion I would give is to remember other people’s feelings.  Be kind and respectful of others in how you present yourself.  May you have peace today and always.

By the way, be sure to check out our amazing selection of fun stacking rings at http://www.designsbysamra.com

Thanks for taking the time to read my post…hope you have a great day!

How Many Tools to Make a Ring?

When I first started making jewelry, about 12 years ago, I focused on beaded necklaces, bracelets and earrings. What were the necessary tools? Beads, wire, jump rings, a clasp of some sort, pliers, wire cutters and crimp beads to secure the necklace end. That was a lot…but that was about it. But now…

I have gotten away from beading and into metalsmithing. I truly love metalsmithing! There’s something about working with the properties of metal that is very exciting and satisfying. You can saw it, hammer it, melt it, make it appear polished and shiny or give it an antique finish. You can make it into a ring, necklace, bracelet, pin or earrings. Each of these objects that we like to wear can literally have an unlimited number of shapes, forms and designs. Sigh….that’s the life of a metalsmith.

So, back to the question…how many tools does it take to make a ring? Yes…from scratch, as my mother used to say when making dinner. The first thing you need to do is decide which type of ring you would like to make. What are your goals? A simple ring out of round wire is a good starting place. Who are you making it for? For yourself or for a friend? I would suggest first starting with yourself using inexpensive materials as well as an easy design. You want to encourage yourself by learning the basics. Then later you can move on to more advanced techniques. Here is the beginning of the list with links if you’d like to purchase. (By the way, I do not make any commission for the purchase suggestions.):

Goals:

  • What type of ring…simple, using round wire…aluminum or sterling silver flat wire could work, depending on your budget.
  • Who is the ring for…yourself. (Good choice!)
  • Will you wind the wire until you get your desired look…or will you solder the wire into a continuous circle? Soldering will be featured in a future tutorial.

Note: The first ring I made was out of 18 gauge copper wire. I did not yet have the soldering equipment or skills yet. But, I did have a hammer and a few metal stamping stamps to imprint cool designs of the wire. I’ll explain how to make that ring in another post, with a picture and a link. 🙂

Materials:

Steps:

  • Measure your finger using a piece of string or yarn. Make sure you allow enough room for the ring to fit over your knuckle. You should have somewhere between 65 to 80mm in length.
  • Lay the string or yarn flat against a ruler to see how long you need to cut your material. Depending on your desired look, you don’t need to be super picky about the length. Just be sure that it will wrap around your finger with some extra length to spare.
  • Cut your material
  • Use the 1 lb brass head mallet/hammer to apply designs using the metal design stamps…your choice.
  • Use the Large Wrap and Tap Pliers to get a circular shape going with the wire. If you choose to spiral the wire this is where you would start that process by positioning the wire at a slight angle, perhaps 40-45 degrees.
  • Switch the wire to your steel ring mandrel and use the plastic mallet/hammer to continue the circular shape.
  • Apply the black sharpie marker to your designs and allow a couple of minutes to dry.
  • Polish with steel wool or Pro Polish Pads.

Online Jewelry Supply Stores:

So, there you have it. It’s possible to make your own ring with approximately 11 tools. Please keep in mind that this is just the beginning of your jewelry making adventure! There’s more fun to come as your skills grow and improve. Anything worth doing takes time and effort. Stay engaged and have fun!

“Promise me you’ll always remember: you’re braver than you believe, and stronger than you seem, and smarter than you think.” A. A. Milne, English writer and playwright, author of Winnie-the-Pooh.

Thanks for tuning in!

Sincerely,

Samra

Hello Spring and Inspiration

Yes, inspiration is here, holding hands with Spring! Isn’t it wonderful? No more gloomy days wishing for a little sunshine. April mornings are a little earlier (if you’re subject to Daylight Savings Time), a little warmer and a lot more enjoyable! Spring is here and sure to fire up jewelry making inspiration!!!

Good Heart Copper Bangle Charm Bracelet

Here’s a little something I made in a couple of days while thinking about the joy of living. Love is essential to a happy life! My father used to say, “Love is free, give it away!”. We have the opportunity to inspire each other to live well, look for ways to be kind and give love!

Do you have a yearning to connect with the metal in your metalsmith studio? Have you created any new and exciting designs this Spring? If I’d love to hear from you!

How To Size Your Stacked Rings

1-img_3366
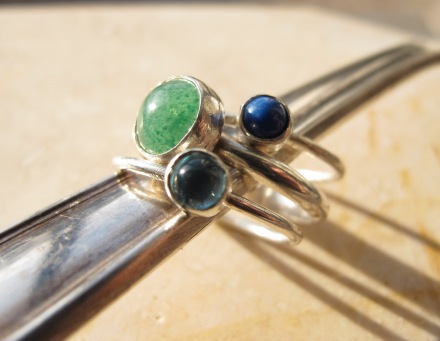
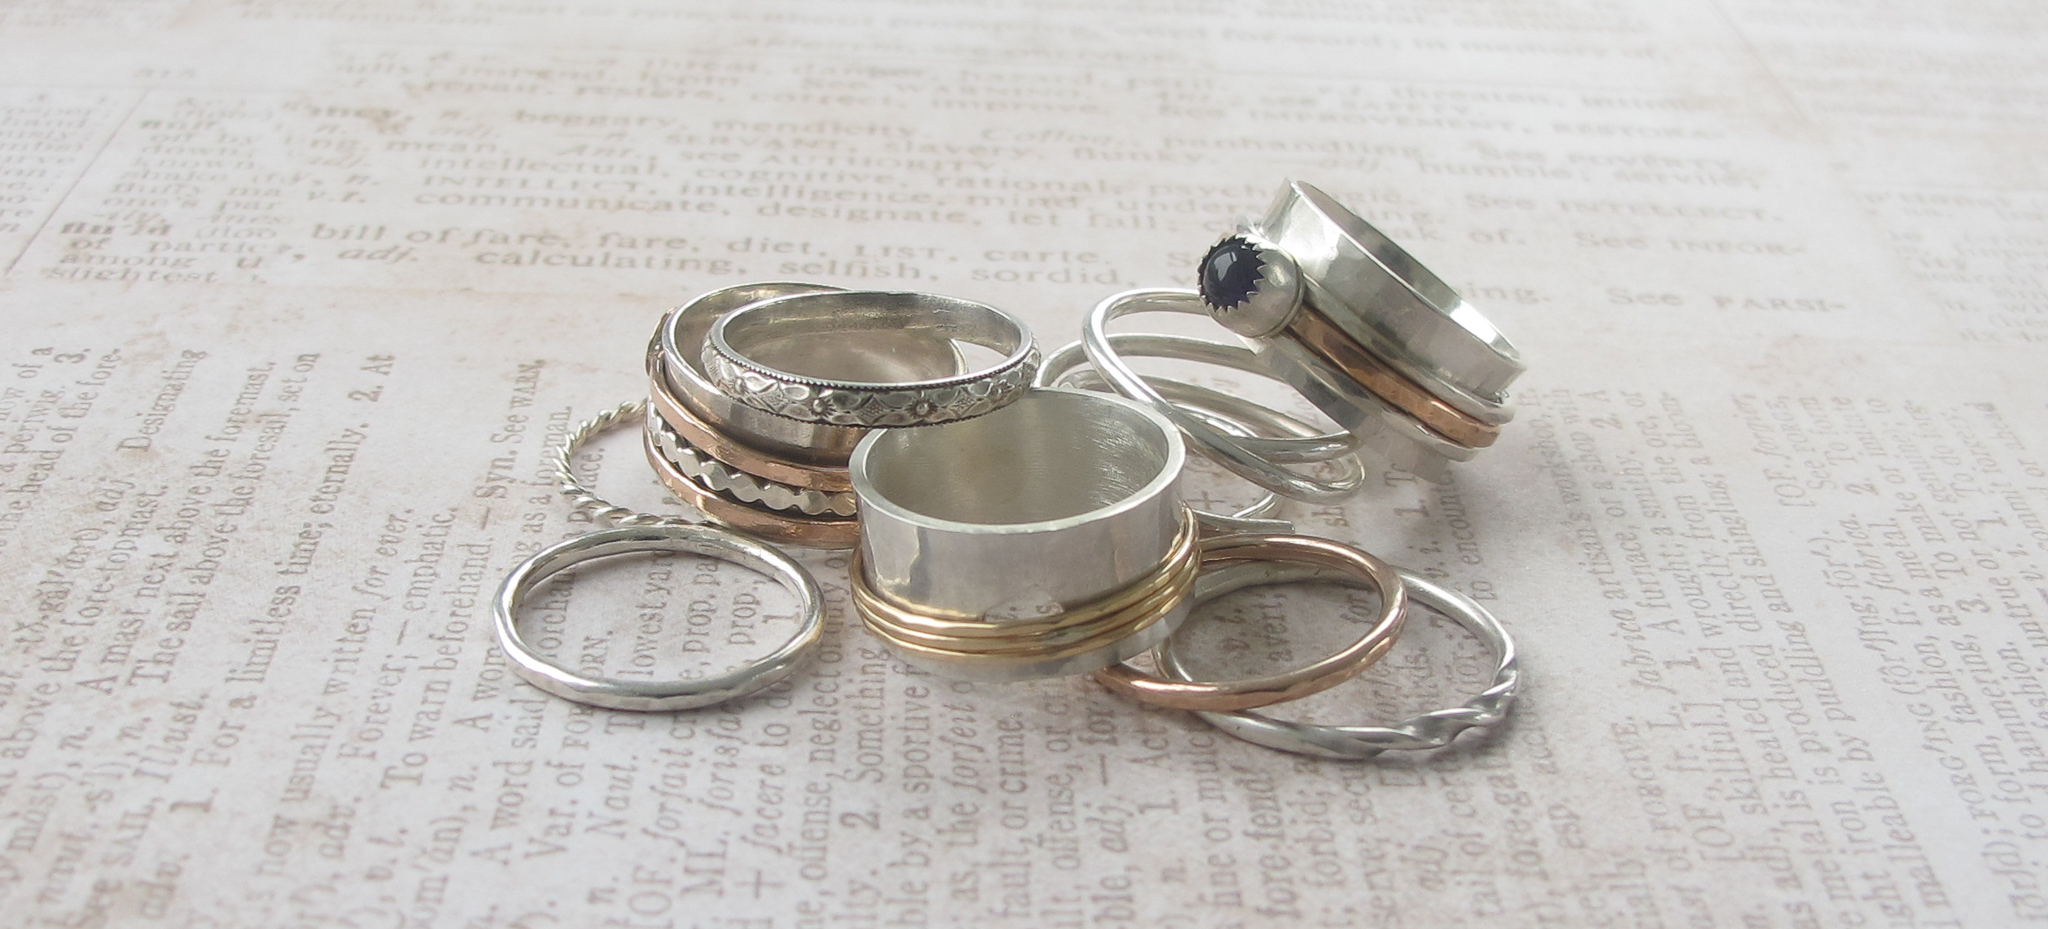
Sizing a ring is pretty easy.  It just takes a little applied mathematics.  First, determine the inner diameter of the desired ring size. Then, take the inner diameter, add the thickness of your wire and multiply by pi…3.14.

Example:  To make a size 7 ring with 14 gauge wire (1.63mm thick) follow this calculation.

To 17.35  (inner diameter of size 7) add 1.63  (thickness of 14 gauge wire)  for a total of 18.98.  Multiply 18.98 by pi (3.14) for a grand total of 59.60mm  (total length of wire needed…see SPECIAL NOTE)

In this case, round the measurement up to 60mm.  When cutting your wire stock, make sure that it is straight along your measuring tool for an accurate cut.  Also, use a quality flush cutter. This prevents having to sand off a large amount of wire in order to solder two perfect wire ends together.

SPECIAL NOTE:  

Keep in mind that after soldering the wire ends together your metal will be soft.  Treat it with care so as not to mar the ring surface.  Also, it’s important to remember that wire will expand when hammered.  Therefore, please follow the guidelines below.  Depending on the manner of your hammer blows the ring could possibly become larger than intended. Use your ring mandrel to regularly check sizing.

  • Reduce your wire length by 1/4 size to allow for shaping your ring after soldering.
  • Reduce your wire length by 1/2 size to allow for stamping or embossing your ring after soldering.

Your may add interest to your ring by lightly hammering the outer surface using either end of a chasing hammer.  Or perhaps by using a metal stamping tool, such as a “period” or “starburst” to create a design.  Wire stock is sold in many forms as well.  Round, square, beaded and patterned wire, to name a few, will add an artistic dimension to your rings.

There are numerous educational websites to help the jewelry maker along his or her way.  I personally prefer to visit Rio Grande,  Beaducation and Contenti on the web for my jewelry making supplies and additional help in the way of videos and blogs. A wonderful YouTube channel features Mr. Soham Harrison who masterfully takes the jewelry making student to more involved levels.  Additionally, there are myriads of sites devoted to US and UK ring sizes, wire gauge sizes and ring calculators.

You just might be surprised at how satisfying and enjoyable calculating the exact ring measurements may be.  Not to mention having a new set of stack rings to wear!

TOOLS FOR THIS PROJECT:

  • 14 gauge sterling silver wire (copper wire can be used for practice if desired)
  • flush cutter
  • measuring ruler, caliper or sliding gauge in mm
  • #2 file
  • soldering equipment *
  • finishing and polishing equipment*

* To be covered in a subsequent lesson.

If you have any questions or comments regarding this article or jewelry making in general please be sure to leave them in the comment box below.  Thank you!

Don’t Give up…2017 is upon us…

2016 is nearly over.  What have I accomplished in the my jewelry making adventure?  Well, it’s been a slow year for me.  What about you?

In my personal life, we’ve spent months searching for that perfect home.  We finally found it!  A 1924 Sears catalog home.  Well built, cozy and perfect!  Moving and settling in was less than perfect, as you probably already know.

With my jewelry bench set up in the basement, I now feel ready to pick up where I left off. My etsy stores are open…check, my facebook page is up…check…my blog is current…check!   Just need to get instagram back up and running with updates on my new projects.

With 2017 just around the corner, I’m starting to think about which jewelry making projects I’d like to work on.  A new ring design…a new bracelet…how about earrings?  One of the most wonderful things about learning to make jewelry is that you can make what YOU want to wear!  The world of jewelry is at your feet!  The sky really is the limit!

What about you?  Are you trying to get your priorities for the coming year in order?  Yes, there is more to life than learning how to make jewelry…but it’s one part of my life that I truly enjoy!  I’m not giving up!

I’d love to hear about your 2017 projects!

Samra  🙂


Trying something new…

Do you love rings?  How about spoon rings? I am expanding my jewelry making adventure into the art of….spoon jewelry!  Would you like to learn how to make spoon rings, too? How about spoon bracelets?  Stayed tuned for my new tutorial…coming April 2017!!!